mysql
这次密码一定好好设置!!!
获取mysql官方包(mysql5.7以前一直在用,相对比较稳定,所以这里选择mysql5.7)
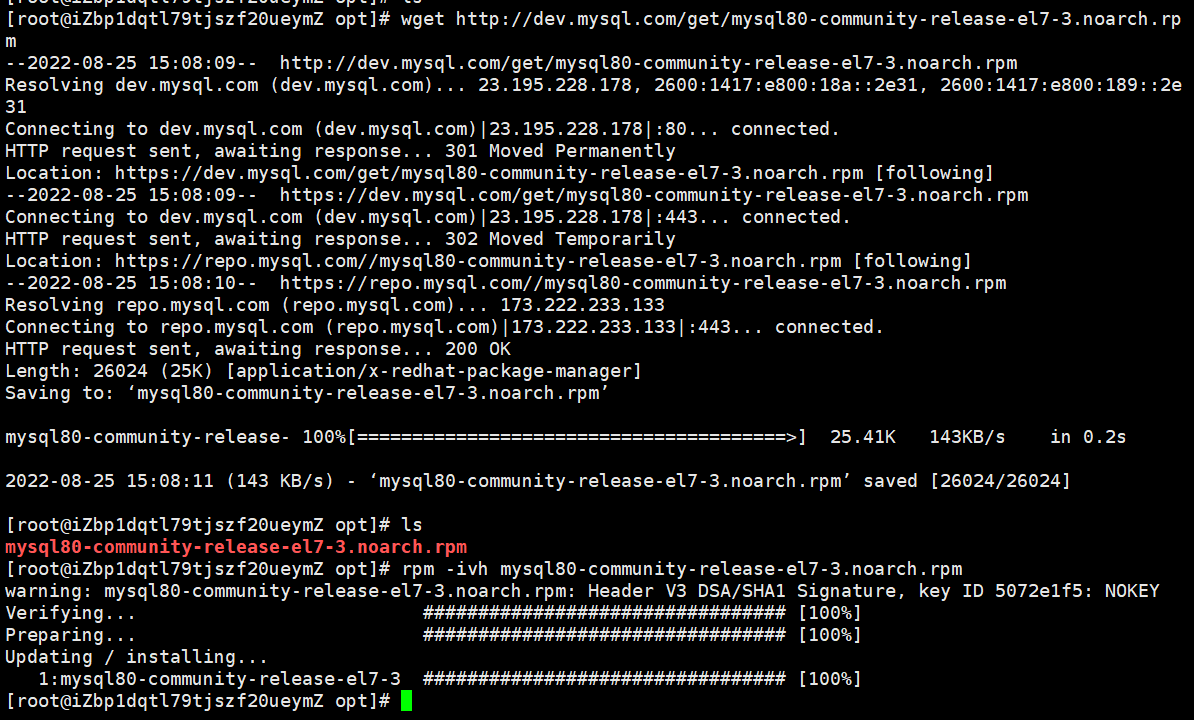
1 wget http://dev.mysql.com/get/mysql80-community-release-el7-3.noarch.rpm
注:wget不成功,可以去官网上直接下载然后再上传到服务器上
安装mysql的rpm
1 rpm -ivh mysql80-community-release-el7-3.noarch.rpm
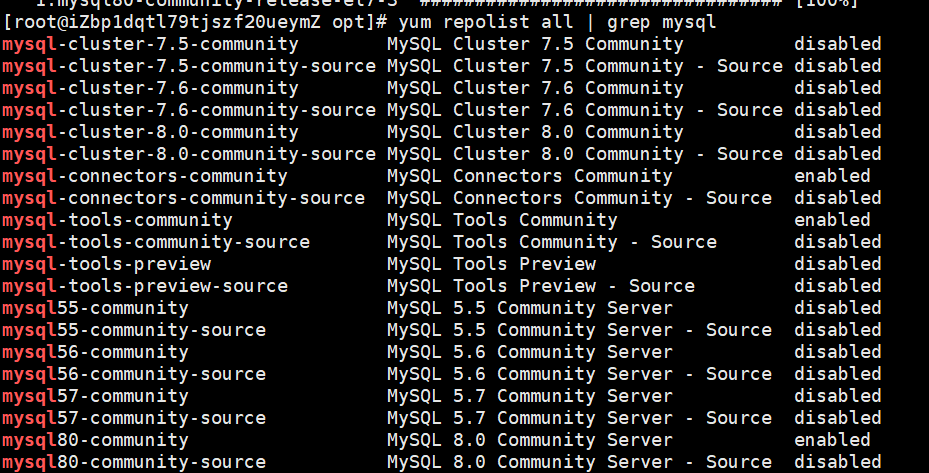
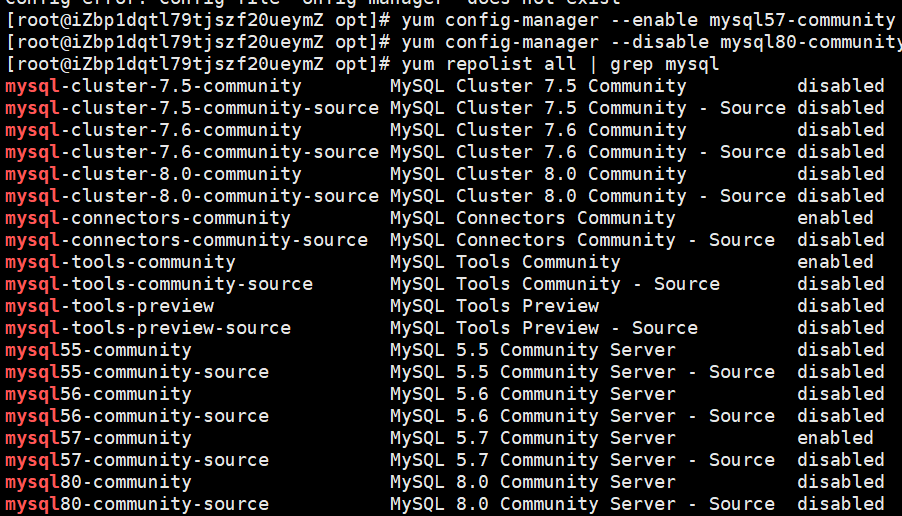
查看并更改将要安装的mysql相关文件
1 yum repolist all | grep mysql
1
2
yum config-manager --disable mysql80-community yum config-manager --enable mysql57-community
安装mysql
1 yum install mysql-community-server --nogpgcheck
若出现上图的报错:Unable to find a match: mysql-community-server,则
1
2
先执行:yum module disable mysql 再执行:yum install mysql-community-server --nogpgcheck
然后稍微等一会mysql就安装好了,可以用下面的命令验证
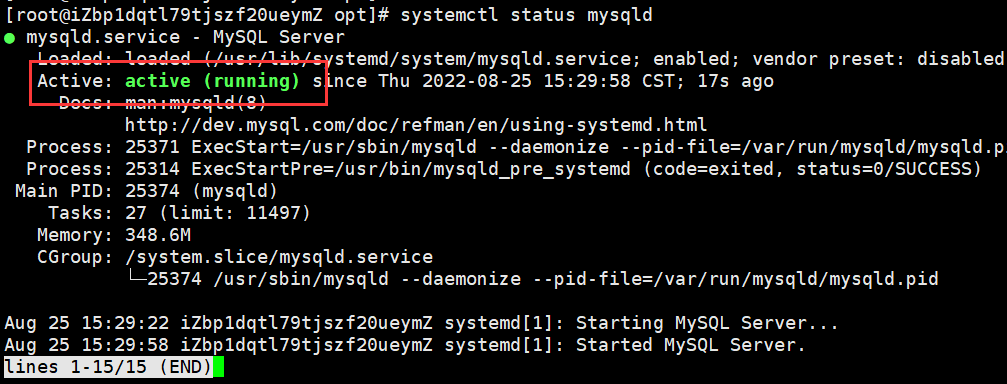
启动mysql
1 2 3 4 systemctl start mysqld systemctl status mysqld
现在mysql就启动成功了
查看mysql初始密码
从mysql5.7开始,初始数据库为空启动会自动创建超级用户root并将密码存储在错误日志文件中 /var/log/mysql.log
1 grep 'temporary password' /var/log/mysqld.log
红框部分就是初始密码
修改密码
建议设置的复杂一点,mysql还是很容易被渗透的,然后就被删库勒索比特币
1
2
3
4
5
ALTER USER root@localhost identified BY 'xxxx' ;flush privileges; # 要设置比较简单的密码就需要取消密码复杂度,编辑 / etc/ my.cnf配置文件, 在 [mysqld]配置块儿中添加如下内容(不建议使用这种配置) plugin- load= validate_password.so validate- password= OFF
授权远程登录
1
2
grant all privileges on * .* to root@'%' identified by 'xxxxx' ;flush privileges;
然后就可以在本地快乐的用服务器数据库了
nginx
下载nginx
1 wget http://nginx.org/download/nginx-1.22.0.tar.gz
也可以在官网http://nginx.org/en/download.html下载好传到服务器上
一键安装相关依赖
1 yum -y install gcc zlib zlib-devel pcre-devel openssl openssl-devel
安装nginx
1
2
3
4
5
6
7
8
# 解压安装包 tar zxvf nginx-1.22.0.tar.gz # 进入nginx目录 cd nginx-1.22.0 # 安装 ./configure --with-http_stub_status_module --with-http_ssl_module && make && make install
更改nginx配置文件
此步是针对我个人服务器设置,且其中包含大部分应用案例及注释,仅供参考
1
2
3
4
5
6
7
8
9
10
11
12
13
14
15
16
17
18
19
20
21
22
23
24
25
26
27
28
29
30
31
32
33
34
35
36
37
38
39
40
41
42
43
44
45
46
47
48
49
50
51
52
53
54
55
56
57
58
59
60
61
62
63
64
65
66
67
68
69
70
71
72
73
74
75
76
77
78
79
80
81
82
83
84
85
86
87
88
89
90
91
92
93
94
95
96
97
98
99
100
101
102
103
104
105
106
107
108
109
110
111
112
113
114
115
116
117
118
119
120
121
122
123
124
125
126
127
128
129
130
131
132
133
134
135
136
137
138
139
140
141
142
143
144
145
146
147
148
149
150
151
152
153
154
155
156
157
158
159
160
161
162
163
164
165
166
167
168
169
170
171
172
173
174
175
176
177
178
179
180
# user nobody; worker_processes 1; # error_log logs/error.log; # error_log logs/error.log notice; # error_log logs/error.log info; # pid logs/nginx.pid; events { worker_connections 1024; } http { include mime.types; default_type application/octet-stream; #log_format main '$remote_addr - $remote_user [$time_local] "$request" ' # '$status $body_bytes_sent "$http_referer" ' # '"$http_user_agent" "$http_x_forwarded_for"'; #access_log logs/access.log main; sendfile on; #tcp_nopush on; #keepalive_timeout 0; keepalive_timeout 65; #gzip on; # 负载均衡配置 # upstream myserver { # # # # # # # # # # ip_hash; # server xx.xxx.xxx.xxx:8080; # server xx.xxx.xxx.xxx:8081; # # # # # # } # server{ # listen 80; # server_name xx.xxx.xxx.xxx; # # location /{ # proxy_pass http://myserver; # root html; # index index.html index.htm; # } # server { listen 443 ssl; server_name xxxx.com; ssl_certificate 1_xx.xxx_bundle.crt; ssl_certificate_key 2_xx.xxx.key; ssl_session_timeout 5m; ssl_protocols TLSv1 TLSv1.1 TLSv1.2; ssl_ciphers ECDHE-RSA-AES128-GCM-SHA256:HIGH:!aNULL:!MD5:!RC4:!DHE; ssl_prefer_server_ciphers on; location / { proxy_pass http://xx.xxx.xxx.xxx:8081; } location ~ /resume/ { proxy_pass http://127.0.0.1:8080; } } server { listen 80; server_name xx.xxx.xxx.xxx; index index.html index.htm; # 转发到443https return 301 https://$host$request_uri; #charset koi8-r; #access_log logs/host.access.log main; #error_page 404 /404.html; # redirect server error pages to the static page /50x.html # #error_page 500 502 503 504 /50x.html; #location = /50x.html { # root html; #} # proxy the PHP scripts to Apache listening on 127.0.0.1:80 # #location ~ \.php$ { # proxy_pass http://127.0.0.1; #} # pass the PHP scripts to FastCGI server listening on 127.0.0.1:9000 # #location ~ \.php$ { # root html; # fastcgi_pass 127.0.0.1:9000; # fastcgi_index index.php; # fastcgi_param SCRIPT_FILENAME /scripts$fastcgi_script_name; # include fastcgi_params; #} # deny access to .htaccess files, if Apache's document root # concurs with nginx's one # #location ~ /\.ht { # deny all; #} } # another virtual host using mix of IP-, name-, and port-based configuration # #server { # listen 8000; # listen somename:8080; # server_name somename alias another.alias; # location / { # root html; # index index.html index.htm; # } #} # 反向代理示例一:将对80端口的请求转发到服务器8080tomcat # server{ # listen 80; # server_name xx.xxx.xxx.xxx; # # 反向代理示例一: # location / { # root html; # proxy_pass http://127.0.0.1:8080; # index index.html index.htm; # } # } # 反向代理示例二:根据路径中不同内容转发到不同的端口 # server{ # listen 9001; # server_name xx.xxx.xxx.xxx; # # location ~ /edu/ { # proxy_pass http://127.0.0.1:8080; # } # # location ~ /vod/ { # proxy_pass http://127.0.0.1:8081; # } # # } }
常用操作
1
2
3
4
./nginx #使用默认的配置文件启动nginx服务 ./nginx -s reload #修改配置后重新加载生效 ./nginx -s stop #停止nginx服务 ./nginx -t #检查配置文件是否有语法错误
docker
为博客搭建git裸仓
1.安装git
2.创建用户并进行相应设置
1
2
3
4
5
6
7
# 添加git用户 useradd git # 设置密码 passwd git # 切换到git su git
3.搭建裸仓
1
2
3
4
5
6
7
8
9
10
11
12
13
14
15
16
17
18
19
20
21
22
23
# 博客存放真实目录 cd /var/www/blog mkdir blog # 裸仓 mkdir repos cd repos git init --bare blog.git # 创建钩子函数 cd blog.git/hooks # 创建 post-receive文件,并在里面输入如下内容 #!/bin/sh git --work-tree=/var/www/blog --git-dir=/home/git/repos/blog.git checkout -f # 为该文件添加执行权限 chmod +x post-receive # 退出到root用户 exit # 设置git用户权限 chown -R git:git /home/git/repos/blog.git
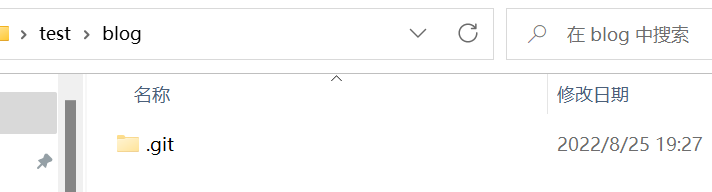
4.在本地电脑测试
1 git clone git@xx.xxx.xx.xxx:/home/git/repos/blog.git
若出现上述效果则表示裸仓搭建成功
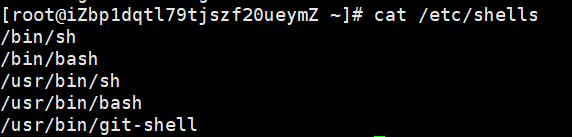
5.为了确保安全,我们需要禁用git的shell登录功能,只能进行git clone,git push等操作
1
2
3
cat /etc/shells # 查看 git-shell 是否在登录方式里面 which git-shell # 通常在 /usr/bin/git-shell vi /etc/shells #在文件中添加上述路径
然后修改/etc/passwd中git的权限
1
2
3
4
# 将原来的 git:x:1001:1001::/home/git:/bin/bash # 修改为 git:x:1001:1001:,,,:/home/git:/usr/bin/git-shell
6.若出现nginx报403错误,可能是权限问题
1
2
chown -R git:git /var/www chmod -R 777